Hey everyone,
I guess anyone interested in nails and the trends that have to do with them knows about water marbling. We've probably all seen some YouTube tutorials on this, it looks so easy and the results are gorgeous!
Today was a lazy, rainy sunday afternoon. So perfect for me to try this method for the second time. My first attempt ended up in epic failure. I tried it on all my fingernails and took it all off. It was awful. I still don't get what I did different this time, I guess you just have to practice this quite a few times. This time I messed up the first two nails again, then the third came out really nice! And all of a sudden I got it!
So here's my tutorial. The pics aren't great, but after all the videos on YouTube you'll most likely know what to do. I just added all the tips and tricks I could find.
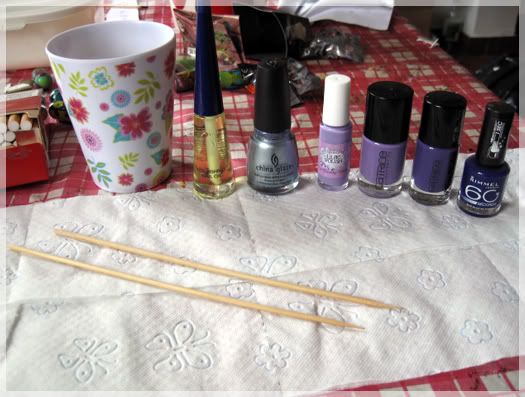
Herôme nail oil and the polishes I used:
China Glaze Sci-Fi, Eyeko Lilac, Catrice Lucky in Lilac, Catrice Purposely Purple, Rimmel Blue My Mind.
What you need:
- Several nailpolishes of your choice, atleast two! Some polish formula's aren't right for marbling, try some different types.
- A base coat (optional, but highly recommended!)
- A polish you'll use as a base colour.
- An orange stick (or a toothpick, long needle etc. Anything that's long and sharp at the end) I use one for the dragging of the design and for the clean up.
- A cup, bowl, glass etc.
- Clean water! On a lukewarm temperature. Wether you can use tabwater depends on your location, if your tabwater is clean, drinkable and doesn't taste like a swimming pool it should be fine. If not, use bottled water.
- Something that will help with cleaning up all the mess! Prepare a lot of cotton pads with nailpolish remover them. You could also wrap your fingers in clear tape or put cuticle oil on them, this helps a lot with the cleaning!
Tips:
- A smaller cup or bowl works a lot nicer than a big one! The polish has less space to spread on (which you don't need anyway), this way it'll fade a bit less and you'll waste a little less polish.
- Don't use something you'd like the eat or drink out of again, it'll get very messy and after cleaning up your fingers, you don't want to spend another decade cleaning your cup/bowl/glass.
Step 1
Prepare!
Look up some pictures and watch some videoturorials. Get inspired!
Get everything out you need and place it within your reach, not just the stuff you'll need for your nails. I always mess things up with getting a drink or trying to find my phone etc.
When you're all settled put on a base coat and a base colour. Let it dry properly, it's important you start marbling on dry nails.
If you use any water that isn't filtered, drip one drop of polish in the water, spread it all over the surface and take it off with your orange stick (or whatever you're using). This way the surface will be totally clean, you can also do this after finishing one nail and doing another one in the same water.
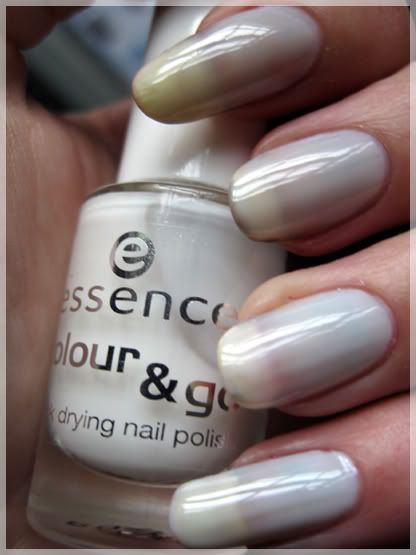
I used Essence Colour & Go White Secret as my base colour.
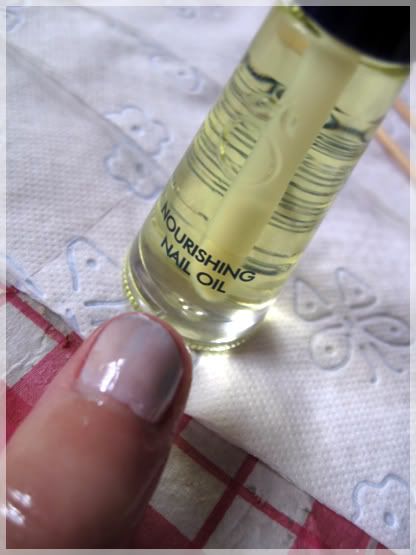
And Herôme Nourishing nail oil around my nails to make cleaning up the excess polish easier.
Step 2
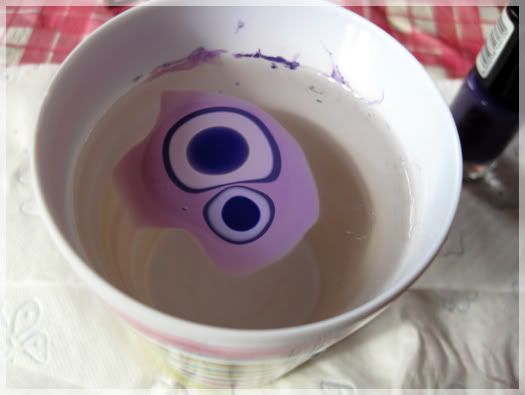
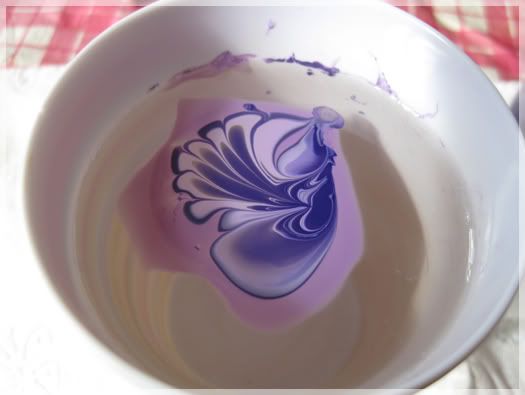
Start the bullseye. Get enough polish on the brush, let it drop into the water from half an inch of the surface. So don't drip it in while holding the brush in the water and neither from three feet up. The polish will start to spread and fade a bit. Get another colour and let the drip fall into the center of the other circle (or splat-like form), Do this a few times, or basiscly as many times as you like. This is something that needs to be done fast! So open all the polishes you'll be using before you start and drip as fast as you can.
How large you make your bullseye, how many colors etc is all up to you. Just experiment with different colors and ways to build up your bullseye.
Tips:
- Polish won't spread? Make sure the water is the right temperature, a little colder or warmer can make a huge difference! This could also be the problem with polish that sinks.
- Still sinking or not spreading? Might wanna try another polish!
Step 3
When you've finished your bullseye you start dragging patterns in it with an orange stick or stick of choice :P Be careful with this, you can destroy the whole design if you put the stick into water, instead of dragging it over the surface. The way you drag it is up to you. You could start outside of the bullseye dragging towards the center, this creates flower-like pattern.
Tips:
- If you destroy the design, even though you're trying to drag it carefully, you might need to be quicker cause the polish has already dried on the surface.
- It could also help to start the dragging within the bullseye, instead of starting in the clean water dragging into the bullseye.
- Working at the speed of light and still messing up? Try warmer water (polish dries quicker in cold water) or a polish with a different formula.
Step 4
Created a pretty design? Now you're gonna get dirty! Choose which part of the design you want on your nail, angle your nail above the water and stick it in with your nail surface going flat on the water surface. Hold still for a sec. Remove all the excess polish with your stick and carefully move your nail out of the water.
I don't have any pictures of this proces, I couldn't bare to cause I'm still way too clumbsy with this part!
Tips:
- The design looked awesome on the water and awful on your nail? Make sure you place the nail flat on the surface and try not to move it at all while it's in the water. Also make sure you remove the polish on the water carefully and pull your nail out straight upwards.
- Remove most of the excess polish on your finger right away, this will spare time later on. If wait untill you've done all of your nails (like me during my first attempt) you're in for a frustrating hour of fingerrubbing.
Step 5
Clean the water surface like told in step 1 or change it. There will be little bits of polish left behind that can screw up your next bullseye or design.
Step 6
Repeat 9 times if you haven't gone mental.
No seriously. This method can be very easy and very frustrating as well. My first attempt was like a sneakpreview of what hell might be like. I tried two times on all my fingernails and took it all off again.
This time I am more than satisfied with my result, even though it's not perfect. But such an improvement compared to my first try! So, pictures :)
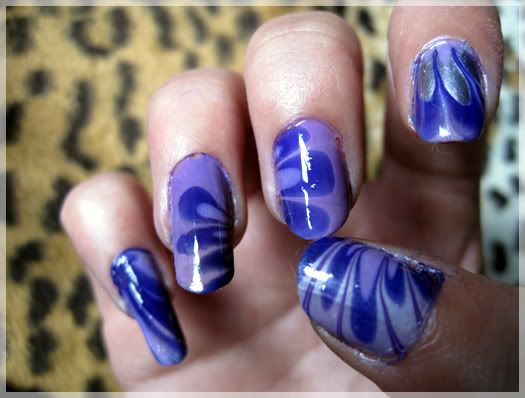
I think my ring- and middlefinger make a pretty butterfly ^^
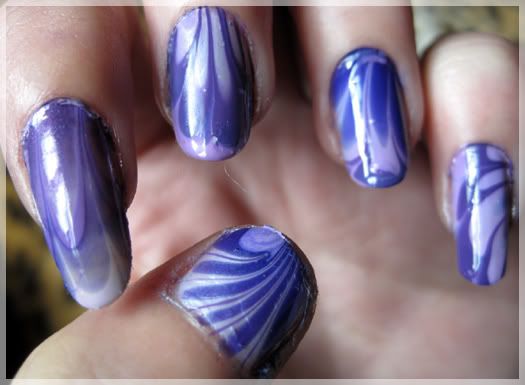
And close-ups of my two favorite nails:
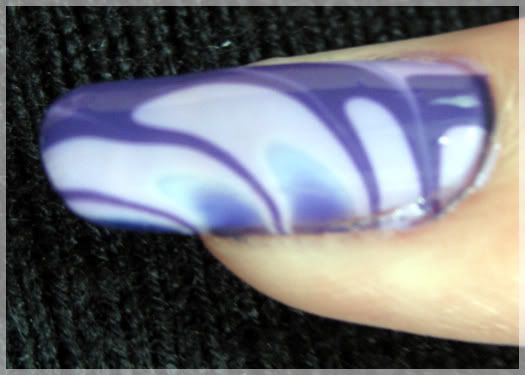
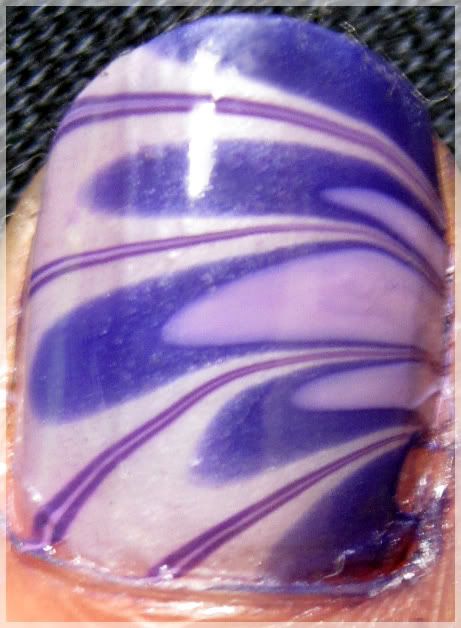
I love this method now I got it a little right! It's so much fun when you get a really nice design on your nail. That makes up for the frustrations of having to do a few nails over. I actually think I'd like to do this weekly, sunday afternoons are perfect for it ^^
What do you guys think of water marbling? Have tried it?
And, would you like to see more (hopefully better!) tutorials?
Thanks for reading! xxx


2 reacties:
ik heb het geprobeerd, maar ik wacht nog even met mijn tweede poging op een rustig moment zonder ergernissen, want ik werd er zó chagrijnig van toen het niet lukte!! ^^'
De jouwe zijn wel erg mooi geworden nu :D
Dat had ik ook ja! Maar vandaag had ik lekker de tijd en weer wat motivatie door al die mooie foto's ervan ^^
Dankje! :D Ik ben d'r best wel tevreden mee, in elk geval genoeg om het toch vaker te gaan doen.
Een reactie posten